Portland Guitar Co. | Portland Oregon | Contact Jay Dickinson-503.245.3276 | jay@portlandguitar.com
Portland Guitar Pretty Good Intonation (PGPG) System
Finished Build
Orchestral Model
OM 2.15.66.
- Body: Sapelle
- Top:Spanish Cedar
- Neck:Mahogany
- Fretboard Ebony
Page 1
 ( 001 ) 1-15-2015
How do you build a guitar?... Plant some trees... wait 200 years... cut the trees down and make lumber... wait 200 years... cut up the lumber into a pile of sticks... glue the sticks together... whittle away everything that doesn't look like a guitar... easy and quick eh.
 ( 002 ) 1-15-2015
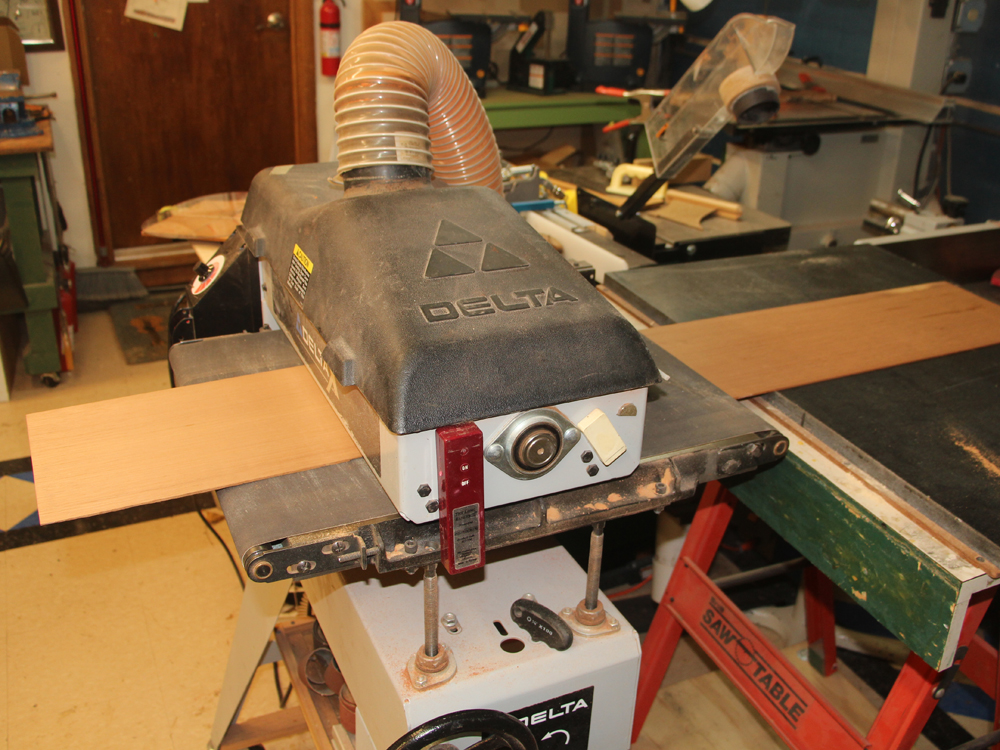
Nonetheless, here I am sanding the spanish cedar top plates. I will leave them thicker than they will end up.
 ( 003 ) 1-15-2015
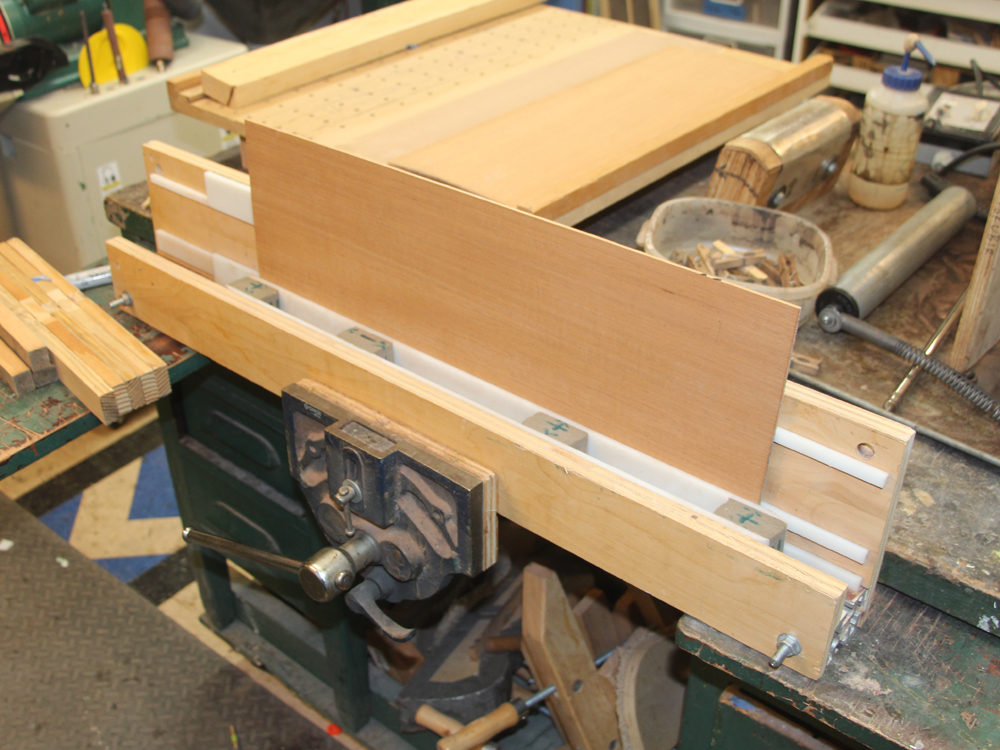
To join the two bookmatched plates together the joint edges must match each other. I use this squaring jig to prepare the edges. The back plate holds the piece perpendicular to a sanding strip.
 ( 004 ) 1-15-2015
Once I am happy with the edges a thin bead of glue is applied.
 ( 005 ) 1-15-2015
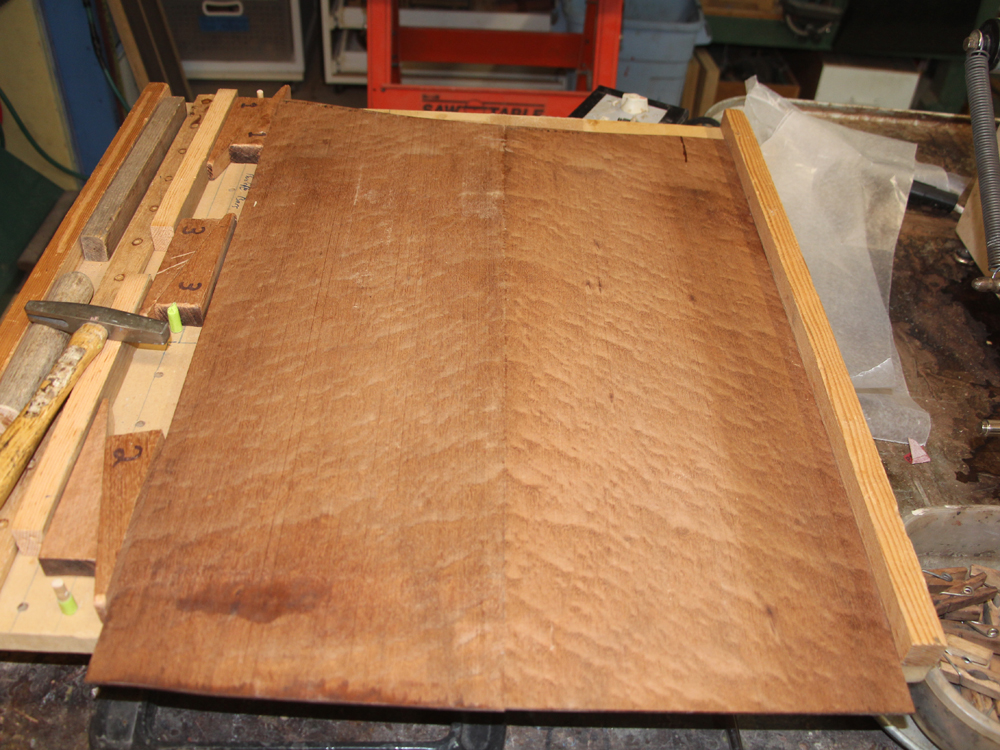
Then the two halves are put into the jointing jig. The wedges push the pieces together and the braces prevent them from buckling.
 ( 006 ) 1-15-2015
A little bead of glue at the joint. After the glue has set I put the top plate aside for a while.
 ( 007 ) 1-15-2015
This is a picture of the back pieces joined together the same way as the top. It also gets put aside for a while.
 ( 008 ) 1-15-2015
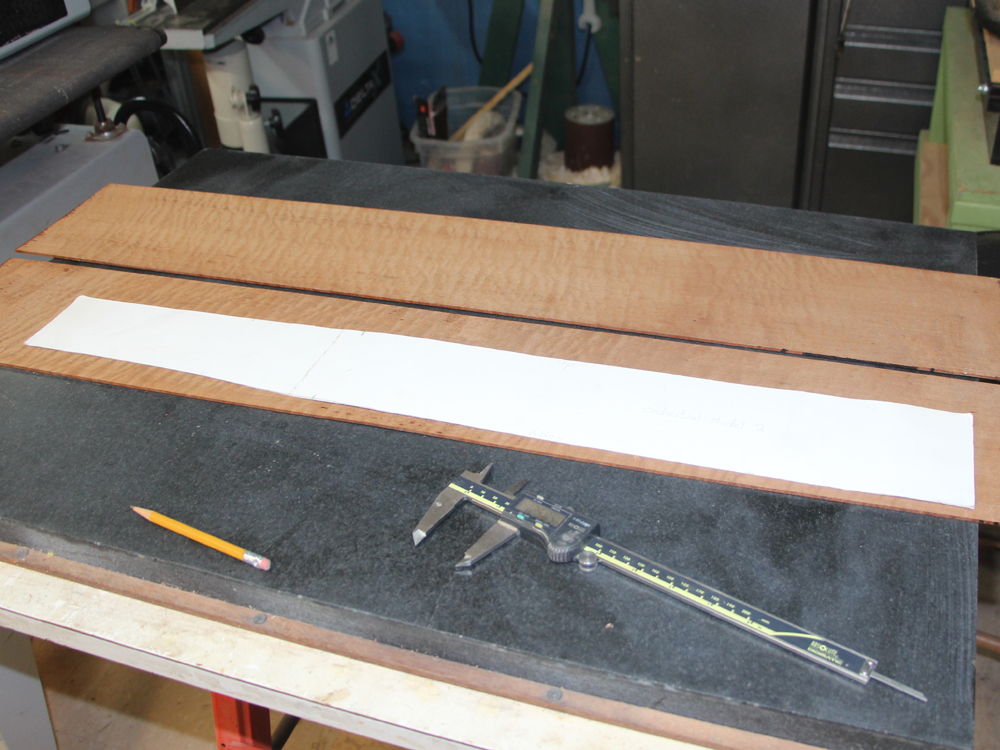
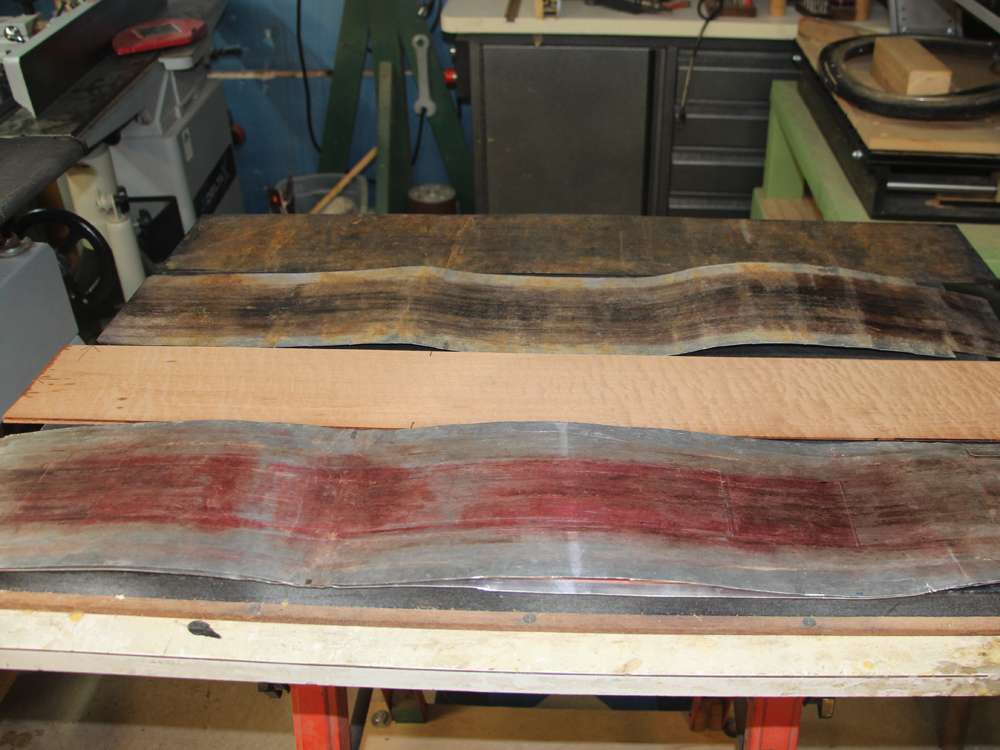
Here I am laying out the side pieces with a template getting ready to bend them.
 ( 009 ) 1-15-2015
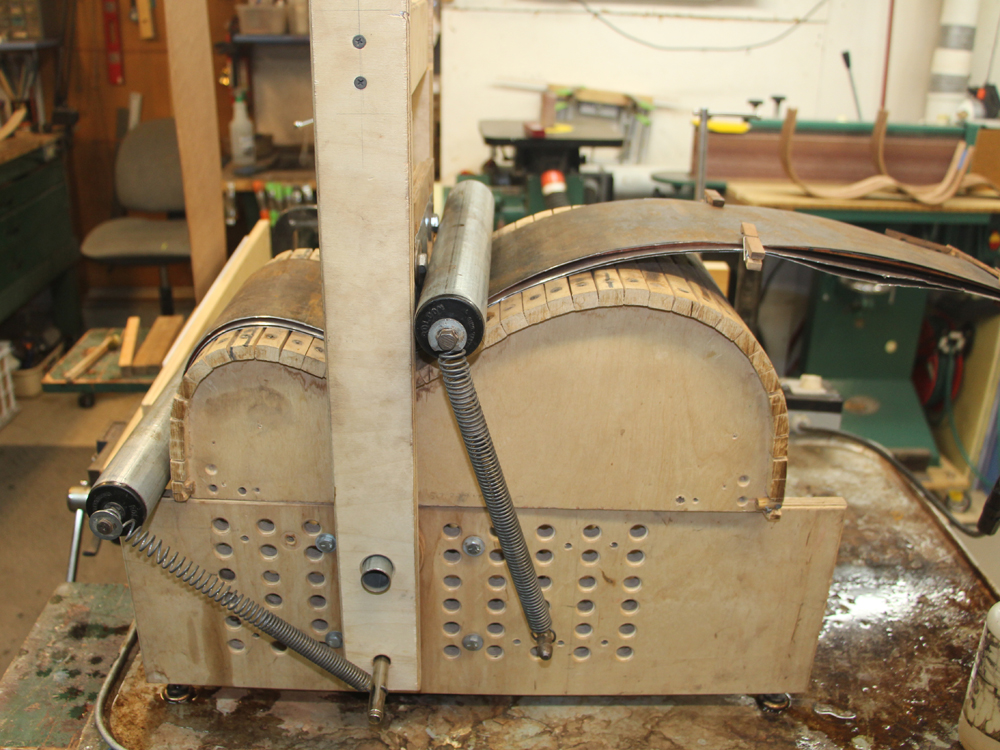
I will bend the sides in a bending machine using a heating blanket assembly to get the wood hot. Wood becomes quite flexible as it is heated.
 ( 010 ) 1-15-2015
The side blank goes on top of the heating blanket.
 ( 011 ) 1-15-2015
And then a piece of flashing is laid on top followed by a thin sheet of spring steel. The spring steel prevents the wood from buckling and cracking.
 ( 012 ) 1-15-2015
The assembly then goes into the bending machine and the heating blanket is turned on. It takes ten minutes or so for the wood to heat up and become flexible.
 ( 013 ) 1-15-2015
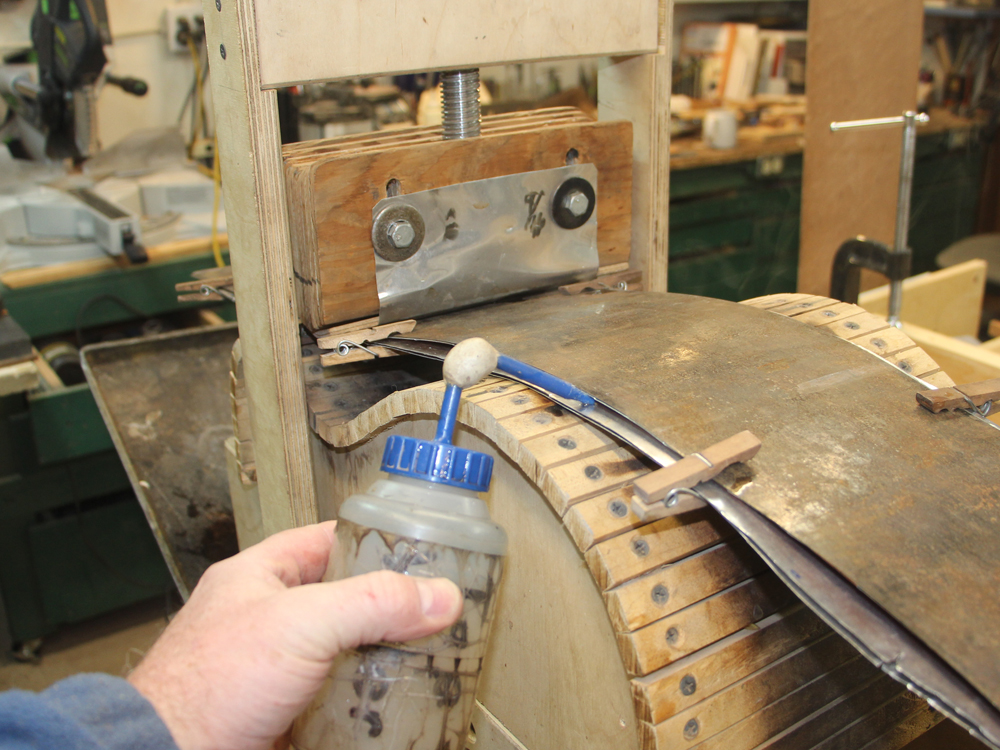
I squirt water in between the flashing, getting the wood wet. I will continue to water the wood down through out the bending process. The water prevents the wood from scorching and enhances its flexibility.
 ( 014 ) 1-15-2015
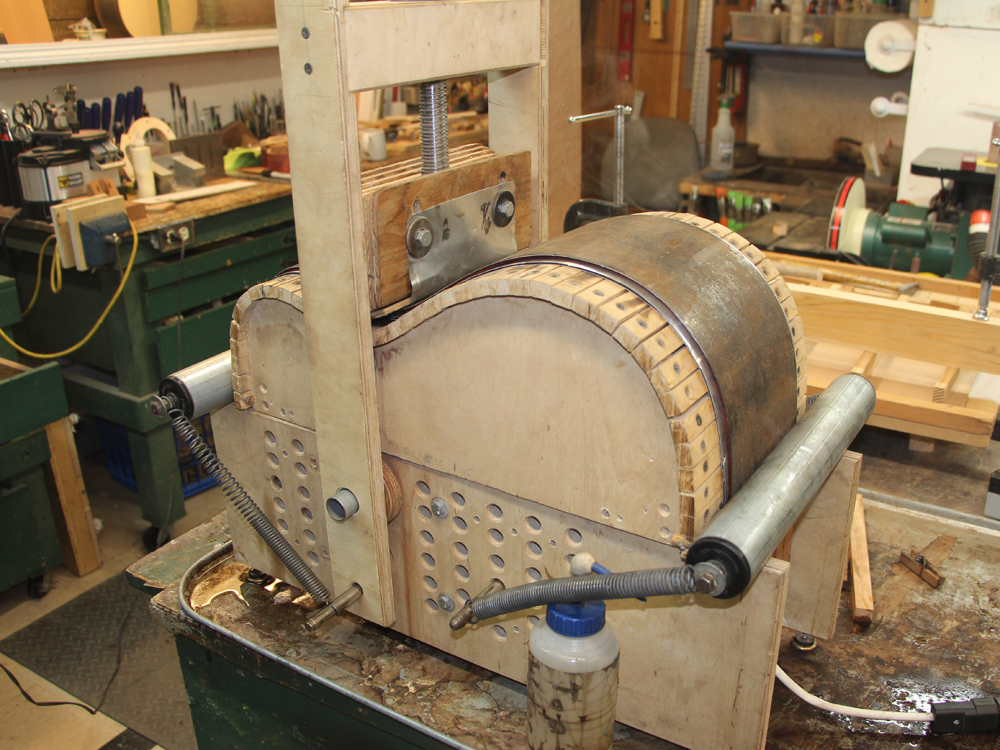
I first press the waist into place.
 ( 015 ) 1-15-2015
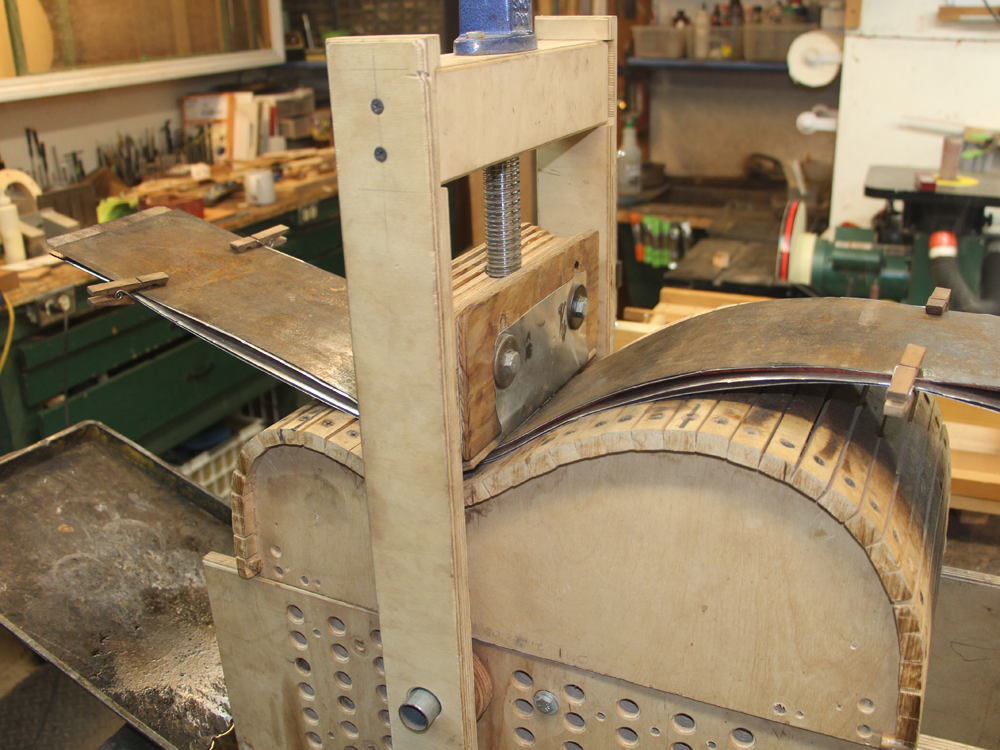
Attach the top roller.
 ( 016 ) 1-15-2015
And roll the upper bout into place.
 ( 017 ) 1-15-2015
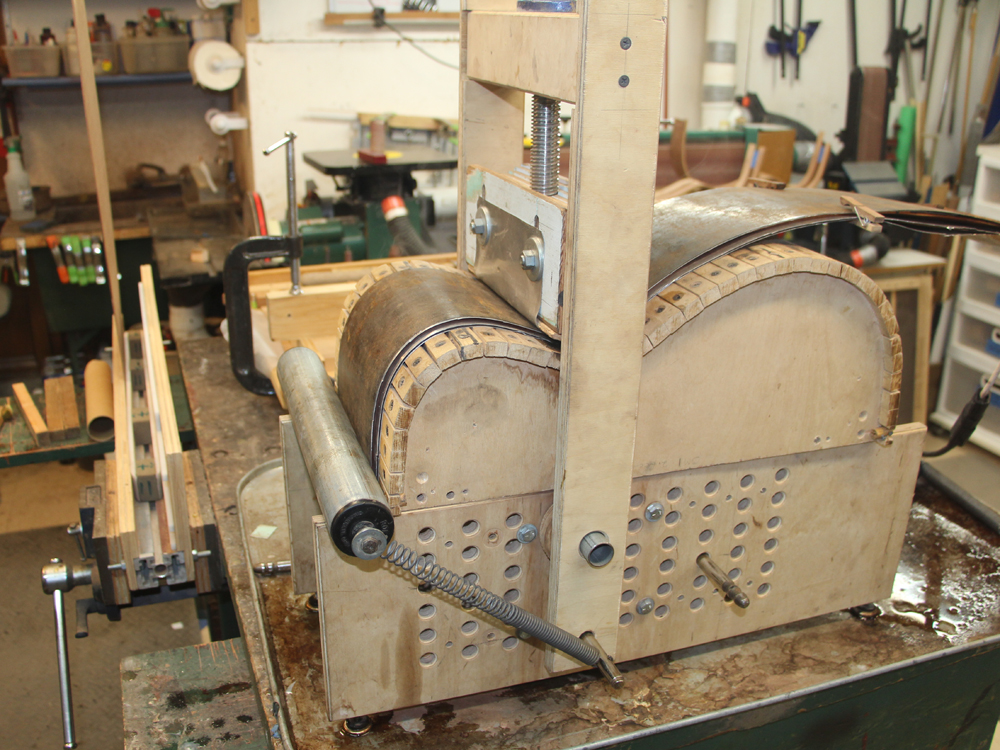
The lower roller is attached.
 ( 018 ) 1-15-2015
And the lower bout is rolled into place.
 ( 019 ) 1-15-2015
After the wood cooks for a while I remove the top flashing to let the wood dry out and set more efficiently.
 ( 020 ) 1-15-2015
When it has set up I put it into the side form to prevent spring back.
 ( 021 ) 1-15-2015
The second half gets the same treatment. It usually takes an hour or so to bend a side.
 ( 022 ) 1-15-2015
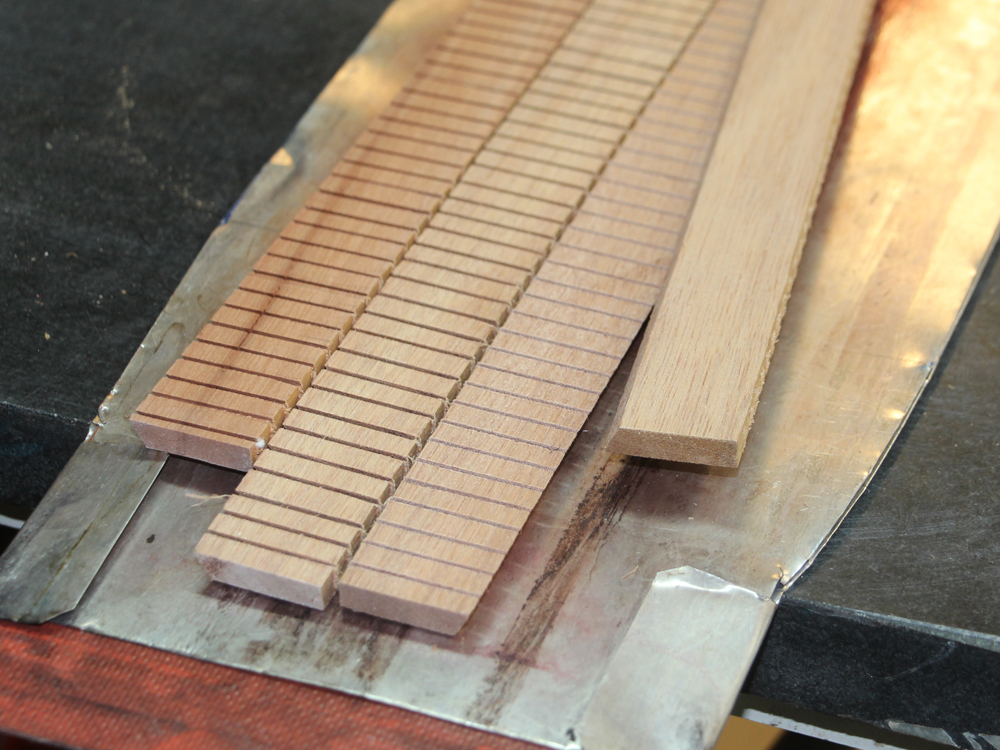
Since the sides are so thin, 100 mil thick (1 mil = 1/1000 inch), we need to add kerfing to give the top something to be glued to. I use a reverse kerfing system that results in a gunwale like structure that makes the sides very strong and stiff.
 ( 023 ) 1-15-2015
The kerfing strips need to be bent just like the side blanks.
 ( 024 ) 1-15-2015
The form that I use has the same shape as the sides I want, so, with the side blank in the form I trace out the shape onto the side blank.
 ( 025 ) 1-15-2015
I then use my bandsaw to trim the blank to shape.
 ( 026 ) 1-15-2015
I add a layer of glue to the kerfing strip.
 ( 027 ) 1-15-2015
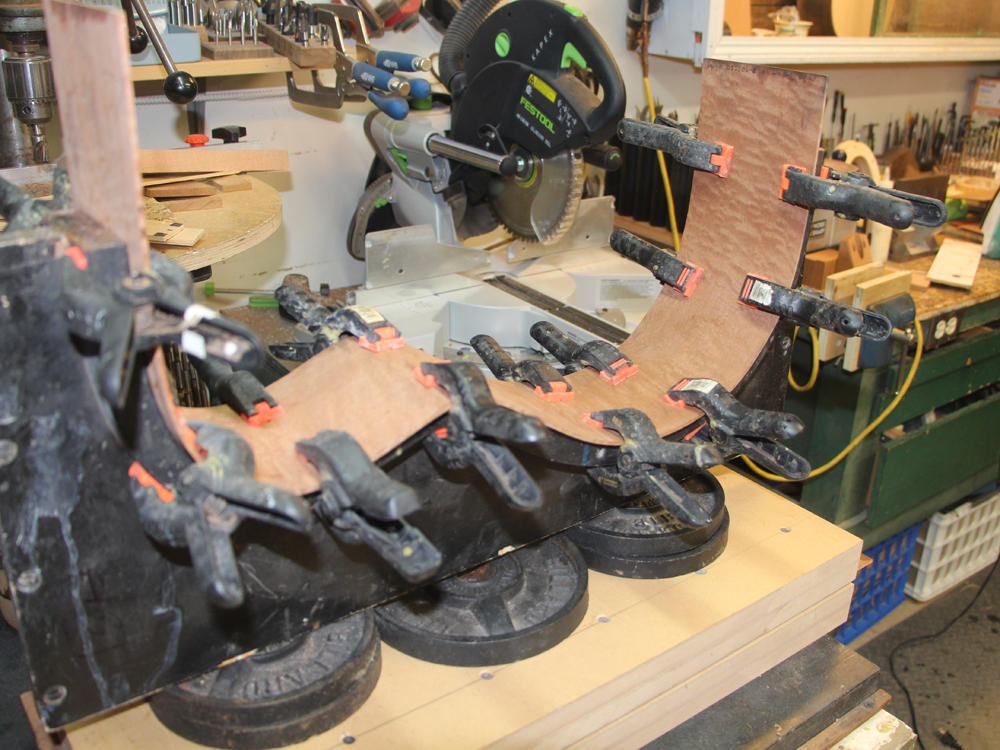
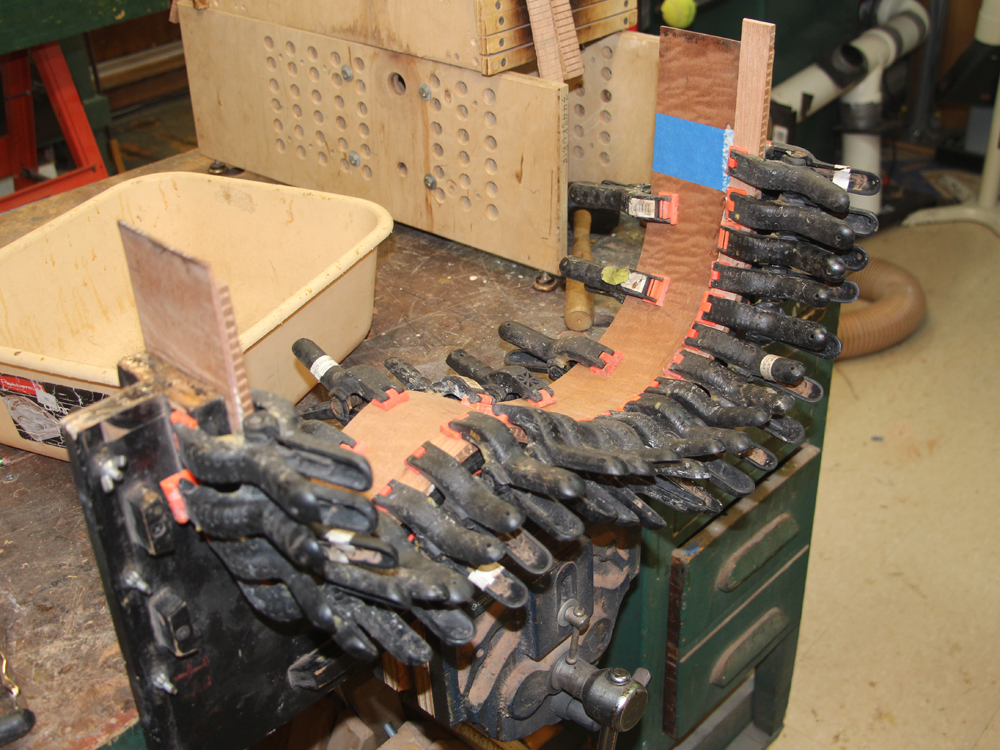
And then with lots of clamps I glue the kerfing in place. When I glue the kerfing in place the clamps press the kerfing onto the inside of the side and then the side gets pressed into the form, which has the right shape. So, if the form has the right shape the sides will end up having the right shape.
 ( 028 ) 1-15-2015
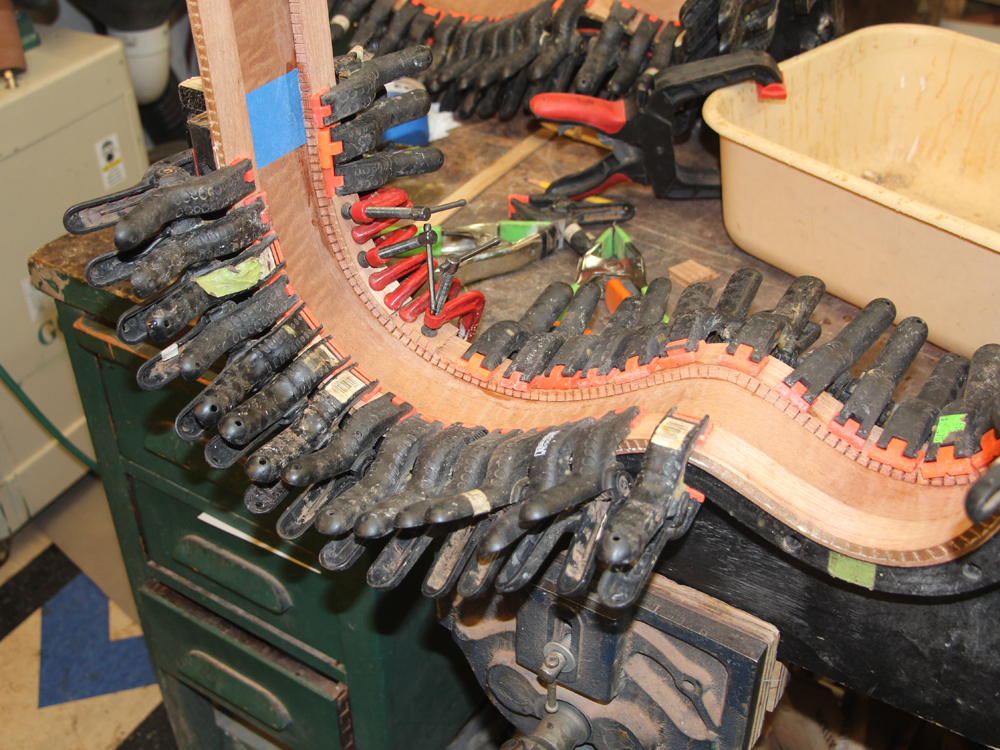
One strip at a time.
 ( 029 ) 1-15-2015
With lots of clamps... did I mention I have lots of clamps.
 ( 030 ) 1-15-2015
When the glue has set, the side comes out of the form and it holds its shape because of the revers kerfing. Here I am cleaning up the kerfing with a sanding drum.
 ( 031 ) 1-15-2015
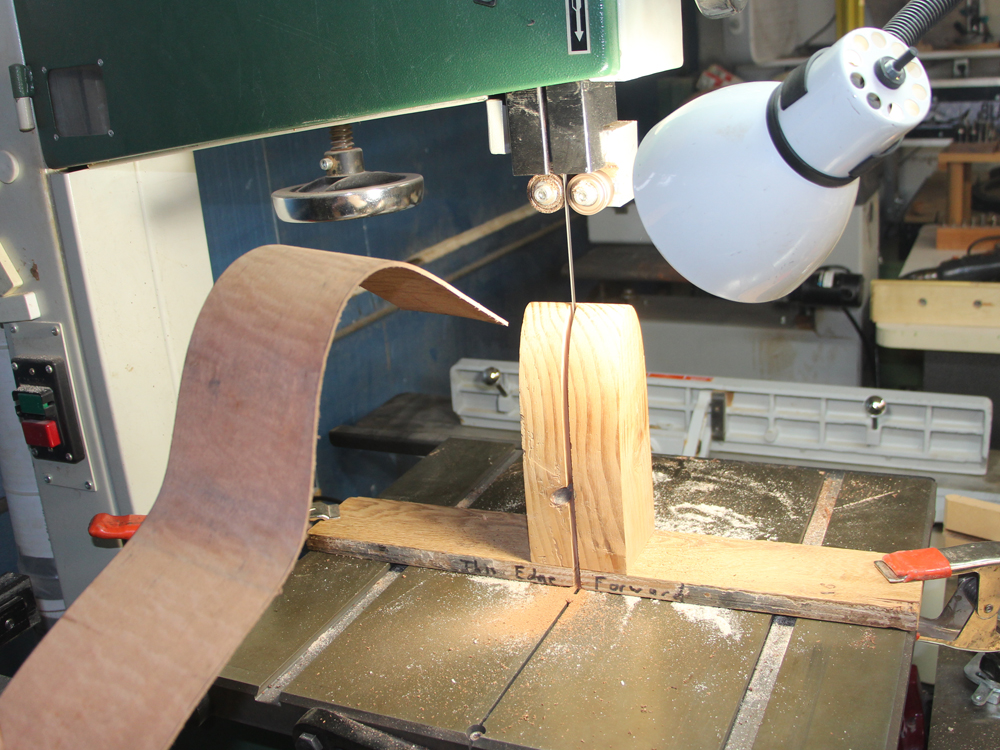
I then trim off the excess kerfing with the band saw.
 ( 032 ) 1-15-2015
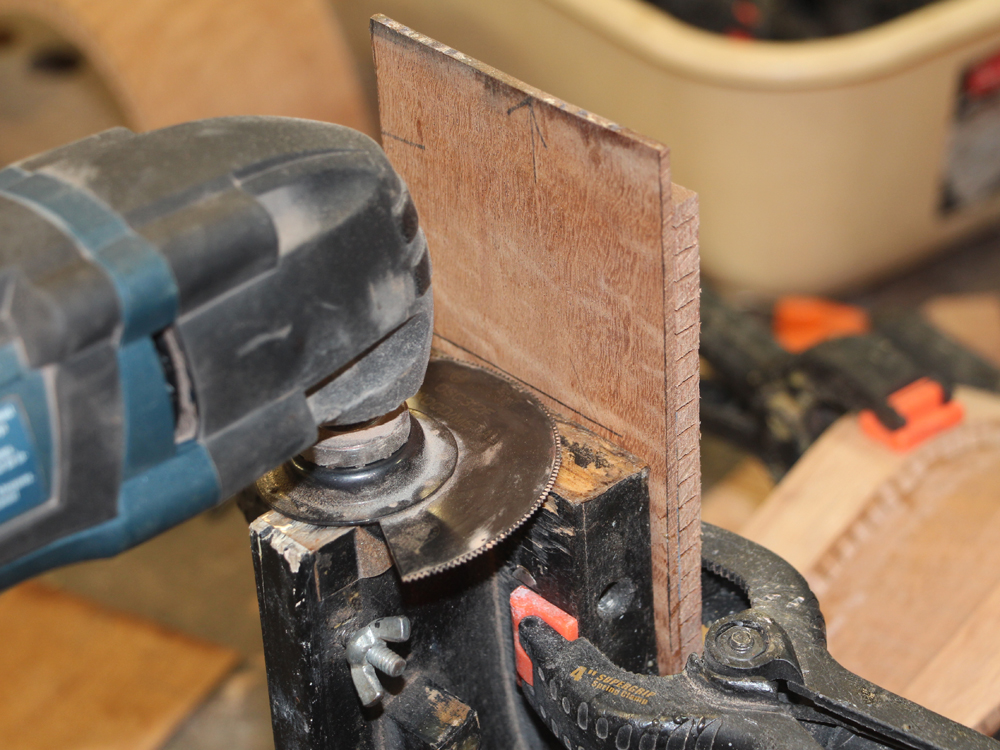
I put the side back into its form and trim off the ends with my multitool.
 ( 033 ) 1-15-2015
This leaves the end of the side flush with the form.
 ( 034 ) 1-15-2015
Here I have taped the two halves together.
 ( 035 ) 1-15-2015
And then I put the rim-to-be in the form.
 ( 036 ) 1-15-2015
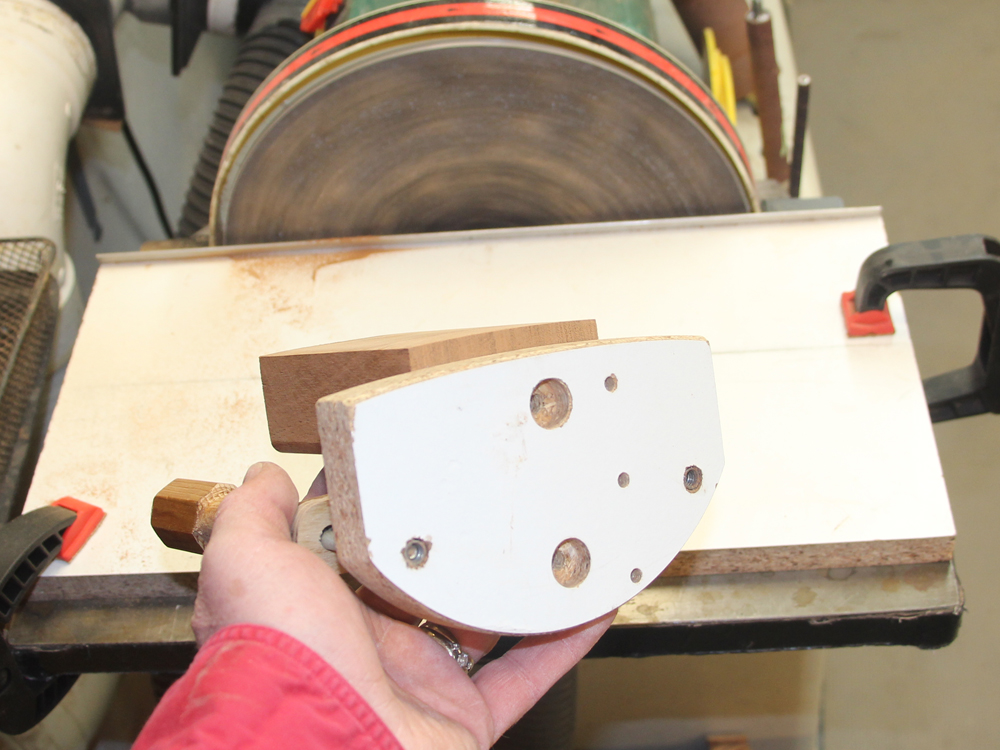
The two halves of te rim will be glued together with a heel block and tail block. However, the blocks need to be sanded to the same shape as the sides. Here I have mounted the heel block on a sanding template with the right shape.
 ( 037 ) 1-15-2015
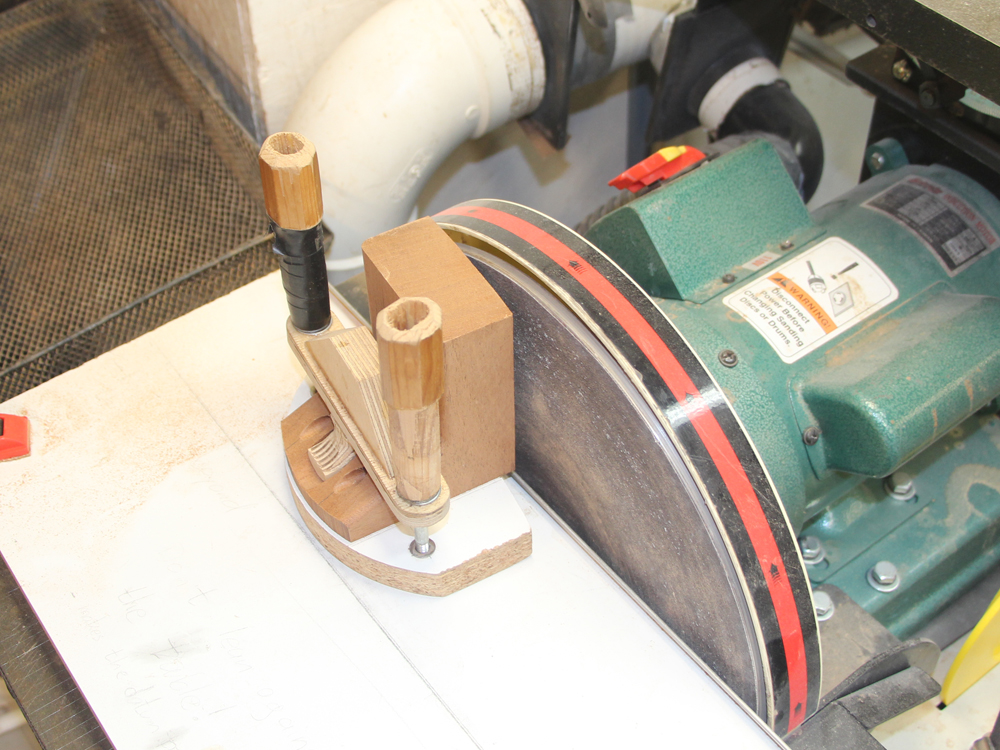
I then use the disk sander to shape the heel block.
 ( 038 ) 1-15-2015
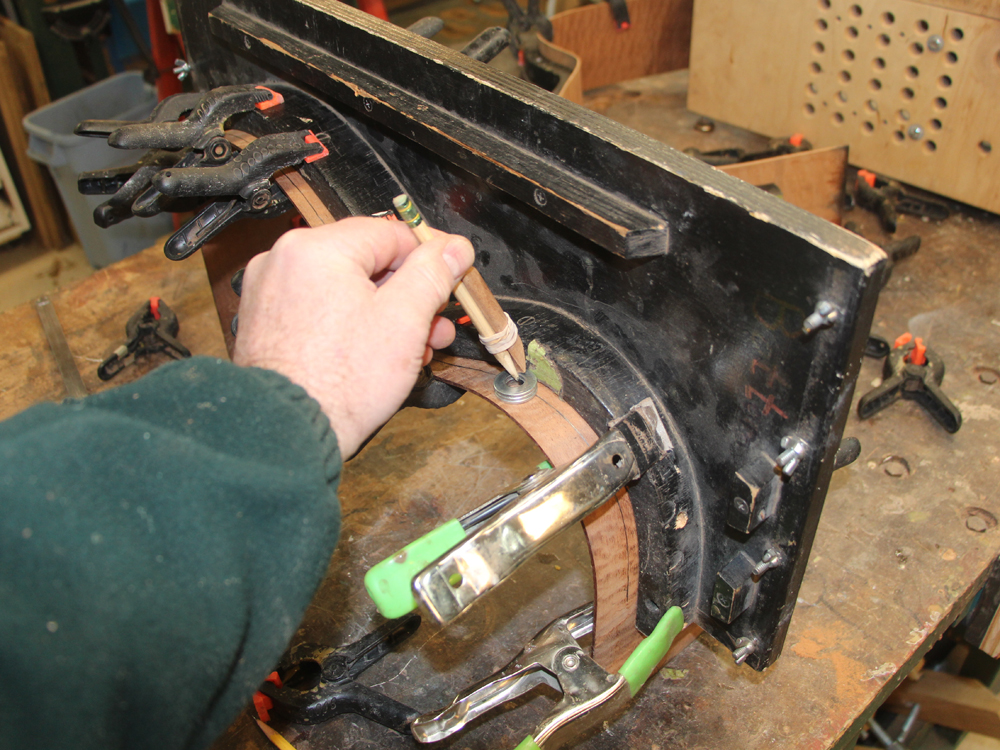
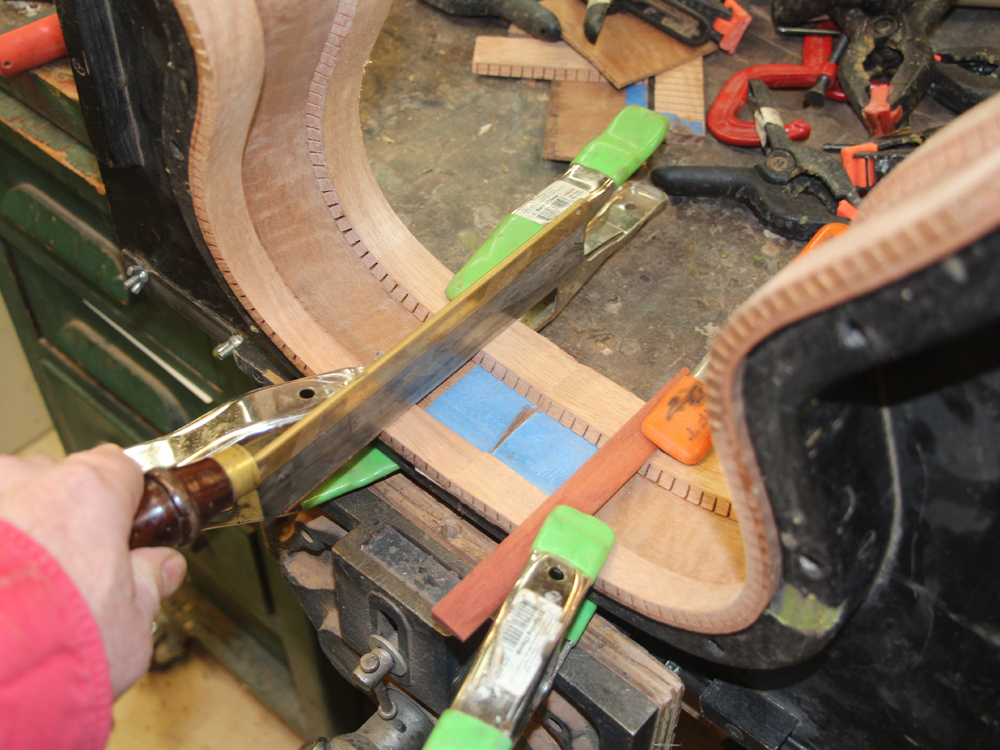
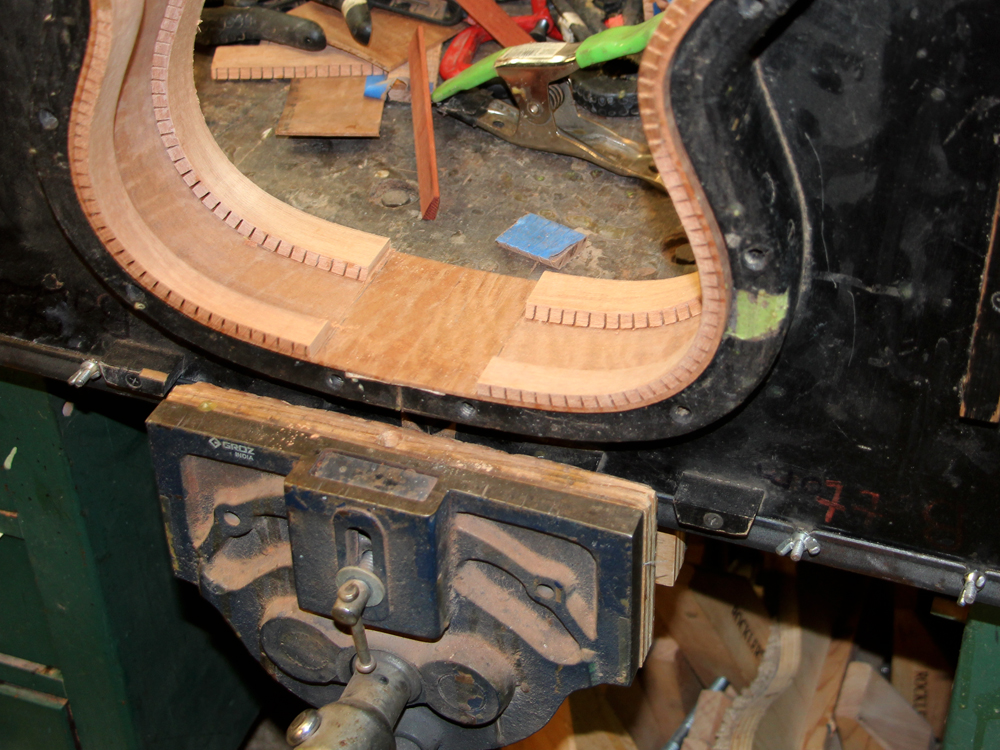
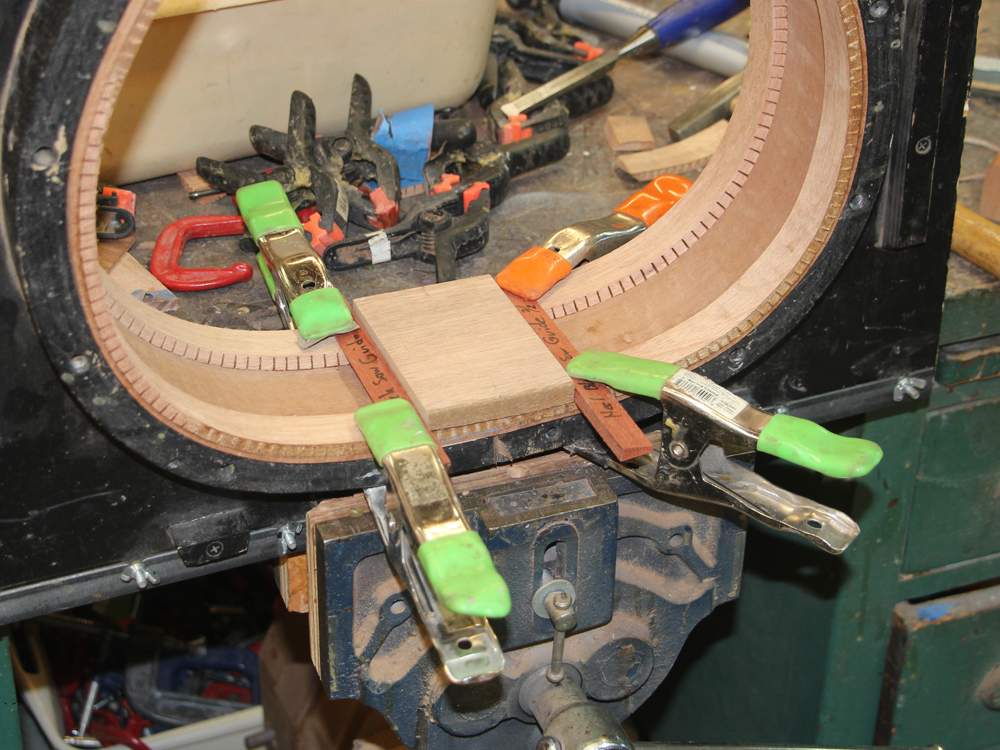
I need to remove the kerfing where the tie blocks will go. After position the heel block I clamp down two guide rails.
 ( 039 ) 1-15-2015
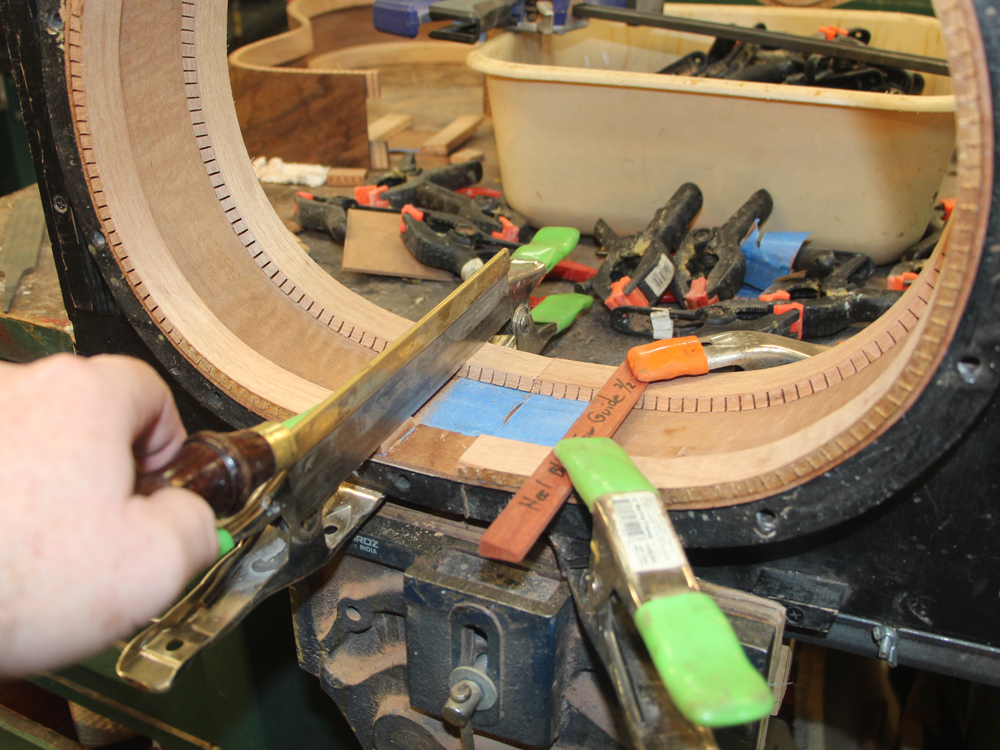
And then I use a small saw to cut the kerfing. Since the rails where pushed up next to the block, after I trim the kerfing the resulting channel will be just the right width.
 ( 040 ) 1-15-2015
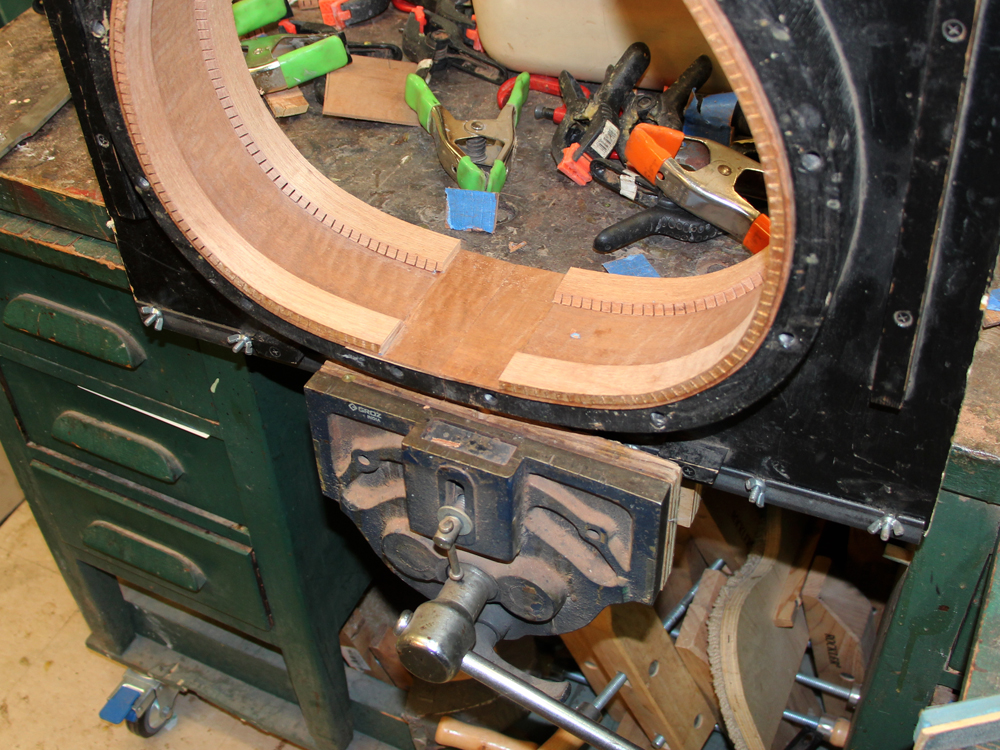
The kerfing is easy to remove from the side because the blue tape masked the area.
 ( 041 ) 1-15-2015
The heel block drops right into place.
 ( 042 ) 1-15-2015
The tail block gets shaped on the belt sander.
 ( 043 ) 1-15-2015
And the block is positioned.
 ( 044 ) 1-15-2015
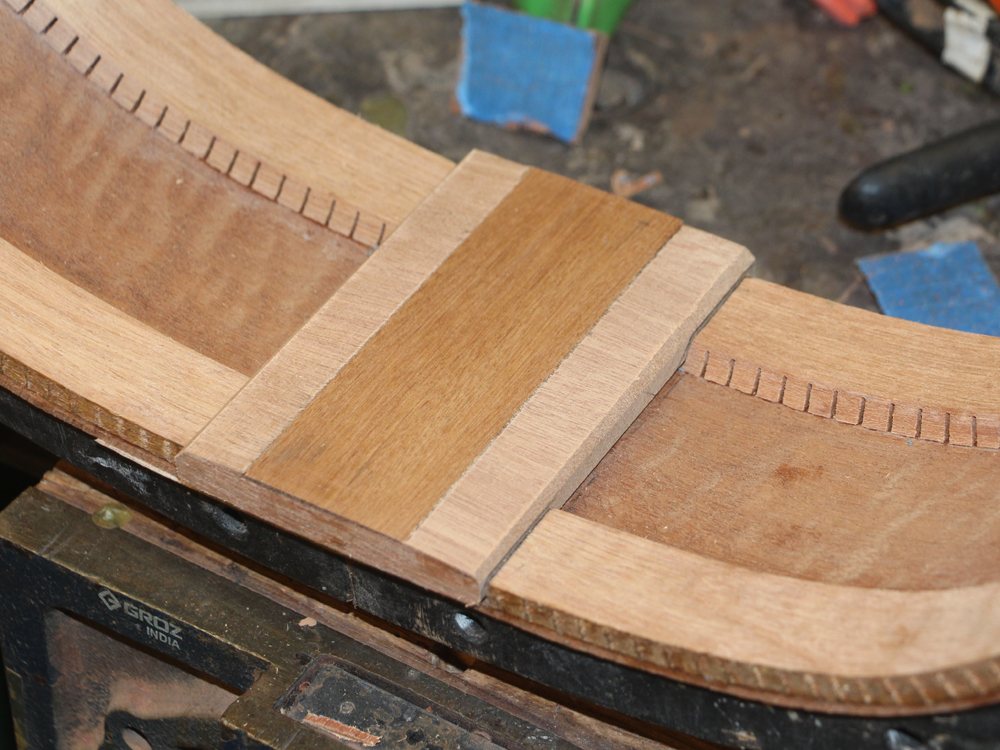
Here I am routing a channel in the tail block to install a vertical tie strip. This tie strip will help prevent the sides from splitting should the guitar get dropped... your guitar never gets dropped does it?... don't do that!
 ( 045 ) 1-15-2015
The kerfing is trimmed away.
 ( 046 ) 1-15-2015
 ( 047 ) 1-15-2015
And the tail block drops right in after the edges are beveled.
 ( 048 ) 1-15-2015
A bit of glue.
 ( 049 ) 1-15-2015
And a couple of clamps to press everything into place.
 ( 050 ) 1-15-2015
Staring to look like a guitar.